And now we bring you something delightfully pretty.. and a ton of Cute.

Wednesday, May 27, 2009 Jonette 2 Comments


Click on picture.
Hover on picture, click, enlarge.
Right click, Save As.
You're welcome.

and now, on to the cute!


No, hammie, you cannot eat the ear-scraper!


will squat for hot nom-noms :)


The Engineer's Guide to Cat Yodelling... Hilarious!
(keep watching from the start, it's worth it!)


No kittehs were harmed in the making of this game.


Is it dessert time yet?


2 Comments:

Care to leave a comment? I'd love to hear what's on your mind. :)

Teh Bewbz, it is a lie! Part 2 (or another mini-tutorial of sorts on how to make and attach a gathered skirt to a bodice)

Tuesday, May 26, 2009 Jonette 0 Comments


photograph courtesy of riot_jane


Hi, readers. If you just got here, I recommend first reading through the first entry in this series. Done? Good, glad you could join us.


Hello, everyone. I've taken quite a breather since the last post in this series, and I've been juggling work, puttering around with the household chores, teaching myself to slow down and kick back with James, and seeing to my overall health. As the Greeks used to say, everything in moderation -- even moderation itself!

It's 3:14am right now, and 29 degrees Centigrade in the city - feels like 34 degrees with the humidity. It's on summer ights like these that the heat goes to my head and I either a) decide it's all too much and get to bed early in obeisance to the gods of the water cooler and work schedule, or b) laugh in the face of insomnia and a potential migraine and go work on some sewing anyway.

Hey, there's always gotta be a first time, but it doesn't mean I'll be too hot to try it again anytime soon.

So then, the blue dress. Once I'd put together the front and back bodice, invisible zipper and all, I proceeded with attaching the skirt to the upper piece. after the hemming came the question: will it be pleats, or simple gathering?

Note: If you don't have a set idea of how you're going to pleat your skirt from the very start, go with gathering. It will save you a lot of grief and frustration in the long run.


After an hour of experimental pleating, awkward distancing and adjusting, adjusting over and over again, I resorted to gathering. I also considered it would be an interesting trick to learn, and what better time to learn it than now? My special thanks go out to JustTutes for easy-to-follow instructions with a first-time gatherer.

You Will Need:

1) a skirt -- in my case, this would be the 26-inch wide, two-yard long piece of blue cloth
2) Some elastic garters, 1/2-inch wide at most,
3) scissors,
4) pins,
and 5) your trusty sewing machine.

The Steps:

1) Take your garter and measure it out to be as long as your waistline, plus one inch for overlapping. Cut it with your scissors.

2) Taking your pins, divide the length of the garter into four equal parts, pining at the ends of each quarter as you go. Mind the overlap bit! You will need this. Set aside.

3) Take the skirt this time, and using your pins, divide the entire length into four and pin at each quarter's end, just like what you did previously with your garter. The pins on the skirt are to be matched up with the pins on the garter by the power of science! Elastic science!

4) Lining up the first pin on the garter and the first pin on the skirt, begin sewing. (Safety tip! Don't sew over your pins! They may end up breaking, jamming up your machine or hurting you in some unspeakable manner. Just be careful to remove them from your sewing machine needle's path before it comes down on them.) Sew a few stitches to secure or lock the garter in, then streeeeeeeeeetch the garter so that the next pin on it meets up with the its corresponding pin on the skirt.

5) Repeat for the remaining pins until the entire length of the garter's sewn onto the skirt's waistline. It's going to need some arm power and endurance, but keep your stitches straight! Consider it good exercise too. :)

After the skirt's garter treatment, I next sewed the bodice piece to the skirt's waistline. It helps to pin the bodice first to the waistline to stabilize it and prevent slip-ups.

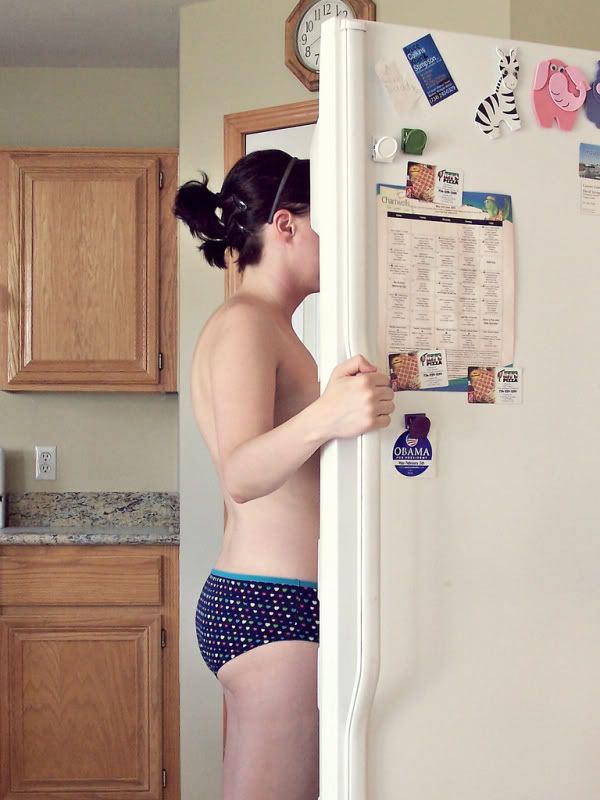
ah yes... remember that extra bit of width I added to the bodice by not laying the paper pattern's edge flush against the fold before cutting? Well, that turned out to be something of a mixed blessing. I tried the dress on, and was appalled to find out the horizontal side bust darts did not help any, and that the bodice was shapeless from the chest down. I was so tempted to give up when I thought: "Ah, is that so? Vertical darts, then. Let's see how you like it."

After a few minutes of pinching, careful pining (I was still inside the dress after all, you know!), and fitting, she finally came out, all grown up with her curves.

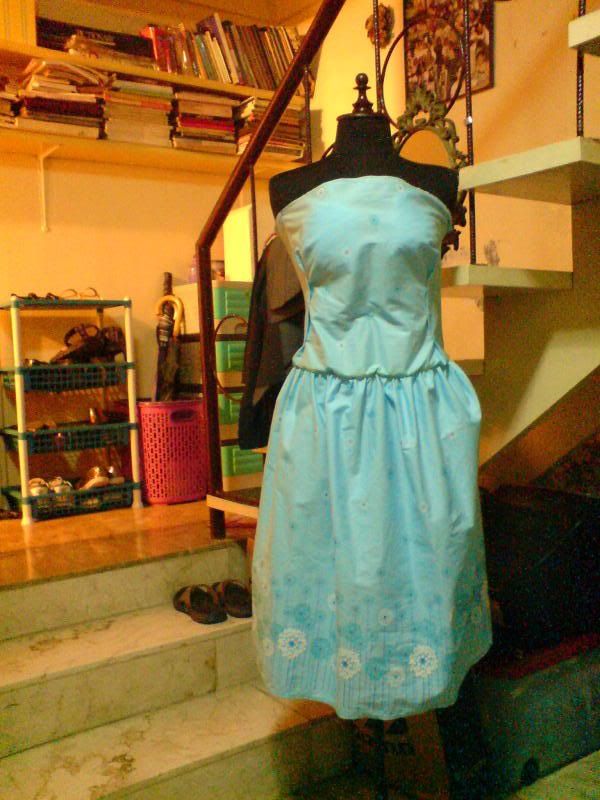
Unfortunately, that's not my real size, but she will do nicely to hold the dress up. ^_^*


Hah! There she is! She never thought I'd be able to make her out, but there she is! What a proud little thing!

and since I finished by 4:30 was sorely tired, I decided to have a little bit of fun with her.


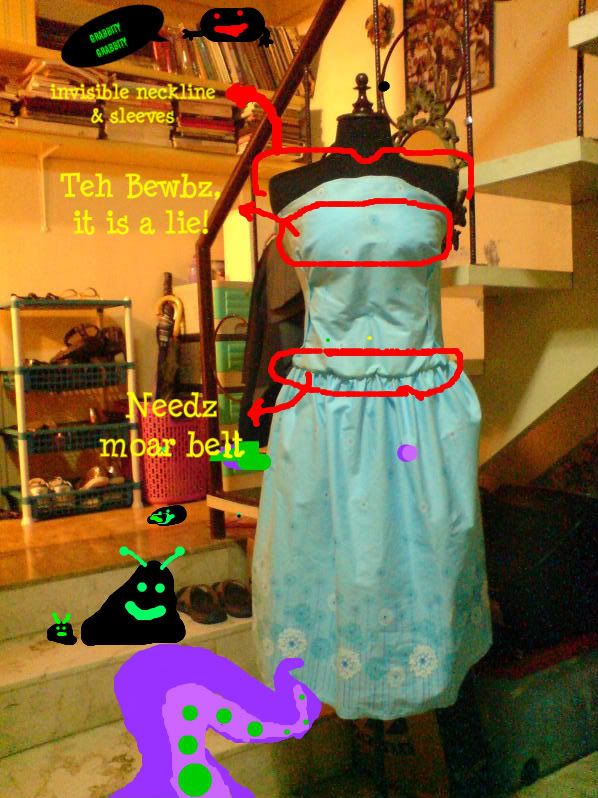
E-hem. Stress-relief courtesy of Paint. So there.

I still need to press and sew up the vertical darts. I do plan to give her sleeves, perhaps nice three-fourth length ones in creamy muslin with tiny pearl buttons on the arm ends. I was also hoping to give her either a missionary collar or a grandad collar, to be attached by back panels... but maybe it's too much?

Well, darts and sleeves first.


Which means the third and final installment to this series! Stay tuned!

0 Comments:

Care to leave a comment? I'd love to hear what's on your mind. :)

Video: Mow the Lawn!

Friday, May 15, 2009 Jonette 0 Comments

Let's take a laugh break before we move on to Part II of Teh Bewbz, it is a Lie!

BettyConfidential.com
offered this short article Does Bikini Razor Commercial Go Too Far? I honestly think not. I do, however, think the commercial is brilliantly hilarious and it drives the point home so unpretentiously.

Sometimes a girl can't help/ Feeling a little blue
When everything's a mess,/ My fav'rite thing to do...
... is Mow the Lawn!


0 Comments:

Care to leave a comment? I'd love to hear what's on your mind. :)

Teh Bewbz, it is a lie! Part 1 (and a mini-tutorial of sorts on how to sew a tube bodice.)

Wednesday, May 13, 2009 Jonette 0 Comments

English teacher's note: Hello, dear students. Please ignore the above title as well as some captions in the proceeding pictures to be examples of the Queen's English. However, if you feel you are ready to "speek teh language of teh interwebz" (and god forbid you be consumed by it), I suggest you follow this finely-crafted link.

Now repeat after me: Ave, Caesar, morituri te salutant. Class dismissed.


At last! the written word again! I am finally free of the ensnaring clutches of that evil, evil Bernina! I am free! Freeeeeee!

Not that I'll stay free for too long, though.

I've lately been mastering the art of finishing work and clocking out early or on time so I can rush back home and spend more time cutting, hemming, sewing, and wrecking textile havoc in the living room-cum-kitchen. I'm at the moment flitting back and forth between the corset entry and a dress made of pretty, pretty blue cotton cloth. Loverly.

I've been rather quiet about my progress between the two, and perhaps you might say I've been a dolt for not taking pictures of the process. I have my reasons for opting not to stop for these details. The first would be... well, have you ever experienced talking about a certain goal you want to achieve, thinking that talking will help you stick to it, only to lose steam and/or (god forbid!) abandon the whole project all-together? I've noticed it works that way for me. (Note: it seems I'm not alone in saying this. In fact, some scientists say so too.)

So... there.

The corset is plodding along quite nicely with its canvas underpanels all nicely hemmed, waiting to be stitched together and boned. There is still much work to be done. (oh, just cutting the brown pinstripe top-panels, hemming and sewing them together, putting together the entire piece, setting eyelets, working the laces, and adding a faux coat flap in front. Yep, just that. )

Work on the dress began last Sunday. I was originally meant to keep the mistress of the house (read: me) occupied while James and his pal James Asis were downstairs picking Trojans off the PC. (Trojans... *sigh* let's not go there...) I wanted to put two possibilities to the test. One, could a buxom young adult female of the species fit into only two yards of 45-width cloth? Two, would the patterns I'd drafted a few weeks ago really fit me impeccably? (Oh, and Three, could two males of the geek variety survive without a woman for long?)

Answers: Yes, yes, no-and-yes.


Ok, first things first: with two yards of cloth at an 45-inch width, I wanted a skirt around 26 inches long (add an inch for allowance and hemming) and two yards wide, and hopefully enough cloth to fit a tube-ish bodice. How did I do that?

I used the cloth on the right. Cute set, eh? Not a bad deal at P80.00 per yard. that's about $1.60, or €1.23.)


After pressing the entire cloth for a smooth finish, I folded it crosswise and laid it evenly on the clean floor. Starting from left side(because that's where the pretty border is -- technically that'd be the bottom of the skirt once it's upright), I measured out to the other side up to 26 inches. I marked where the measurement fell, and drew a long line (whole, dotted, or broken) on the length of the measurement's level.

What about the bodice? Did the drafted pattern fit? Was there enough space for allowances? Thankfully, it did without having to lie sideways on the cloth. (phew!)

When I was absolutely sure all my corners matched and the line was exactly where I wanted it, I took my trusty scissors and started snipping away. Setting aside the cut skirt part, I set to work pinning the front and back bodice pieces on the folded cloth, taking care to lay the front edge of the pattern on an evenly folded cloth edge. (of course! Just like cutting out paperdolls.) Minding the allowances, I snipped away.

well, I didn't exactly lay the folded pattern edge on the exact cloth-folded edge... more like, an inch away from the edge. (Gasp!) Well, this brought around an interesting problem with an equally interesting solution. We'll get to that in a bit.

(Wait, we have men in the house? Oh right! I paused from my bedroom/work area for a spell to set some Japanese sweet corn on the boil. The boys were busy waiting for the PC to finish scanning its registry while deep in the throes of a Magic: the Gathering duel. Big casserole, water, rock salt, fire. I set my baking timer to 30 minutes, and took it back upstairs with me to the workroom.)

Hooo-kay. With the front and back bodice pieces cut, I next pinned the raw edges evenly and pressed them to make sure they stayed flat and still under the sewing machine needle. Trust me, you absolutely do not want your hems rolling up and going crazy as you sew, much less with a structured piece. With both pieces given the pin-and-press treatment, I brought them down for some serious hemming at the machine. (At this point, James and James finally cleared the PC of bugs -- h'ray!-- and were now finishing a rescue mission on Freedom Force vs. the Third Reich. quite a mouthful, but a pretty awesome game if you happen to love the Golden Age of Comics.)

After hemming, I pinned the two pieces' right sides together, and sewed up one side. On the other side, I put in an invisible zipper, using the sewing machine's zipper foot. Sooo much easier this way.

I know some of you may be going, well duh, of course you use a zipper foot for zipper work!, but I just want to say that while it is indeed possible to also use a regular sewing foot, don't expect your zipper job to come out even or neat. It also does not make an invisible zipper really "invisible", as a regular foot will always need a bit of space for the foot to pass. Visible invisible zipper? Do not want.


You will want to use a zipper foot for this because it can press down on the cloth and ensure the zipper is right on edge with zero wiggle room while sewing it deftly into place. No mess, no exposure, perfectly invisible as that pink-purple elephant behind you. Oh, didn't you know? ^_^*


**To be continued... later today! Dundundun-dunnn!

0 Comments:

Care to leave a comment? I'd love to hear what's on your mind. :)

the Universe called and left you a message.

Monday, May 11, 2009 Jonette 0 Comments

0 Comments:

Care to leave a comment? I'd love to hear what's on your mind. :)

Followers