
D.I.Y.: A Cat-eared Hoodie for Aimee.
Hallo, me luvs! It's a slow day at the office for me, and so I post.
Plug! Plug!
Before anything, I'd like to turn your attentions to the link waaaaay above on the gray bar. do you see that, A Royal Mess? That's James' blog. He writes every now and then about gaming, building decks in Magic: The Gathering, among other romps of unabashed gaming geekery. He's just recently composed an Allies deck that's hard to beat -- and on a shoestring budget, at that! --, and wants to share with you how he did it, and how other players have reacted to it. If you're a gamer like he is and want know more, head over and say hi, and that I sent you. ;)
Alrrrrright then!
For six months past -- or was it seven? --, I've had an idea go higgledy-piggledy all over the back of my mind at the strangest times. A couple of weeks ago, I finally had enough, and went all willy-nilly at it.
Having a surfeit of clothes and funny vocabulary can do that to you.
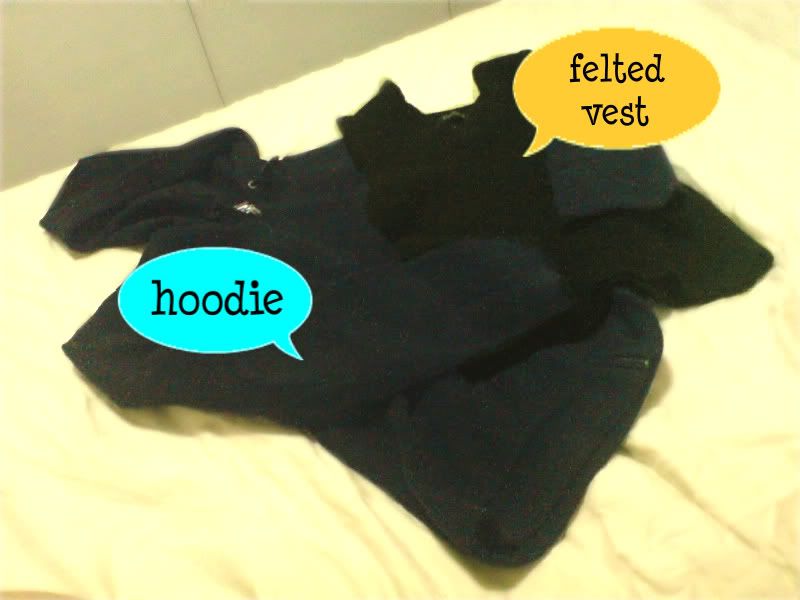
My closet housed a hand-me-down hoodie my mother left to me, and a knitted cotton vest. The hoodie was too small for me, and alas, constant washing had shrunk and felted the vest. so, what's a girl to do? Make a cat-eared hoodie, by the gods, that's what.
You will need:
- a hoodie,
- a felted or hand-me-down knit vest,
- some colorful scrap cloth,
- Polyfil stuffing,
- tailor's chalk or crayon hi-lighters,
- tailor's pins,
- a pair of scissors,
- a sewing machine (or if you're really patient and have dextrous fingers, needle, thread, and a thimble),
- a pencil,
- and a piece of paper or recycled cardboard/ cereal box/ half of a used folder/ etc.

- Lay your paper or cardboard on a horizontal position. On the left side, draw how you'd want your cat ears to look like. Do you want them Pointy? Wide? Perky? Do you even want cat ears? Dog or mouse or bear ears are perfectly fine too. Draw the inside of the ear too.
- Fold the paper or cardboard cross-wise, and with your scissors, start cutting out two pieces of ears. Be careful not to cut yourself! You will now have two mirror images of the same ear, one for each side of the head.
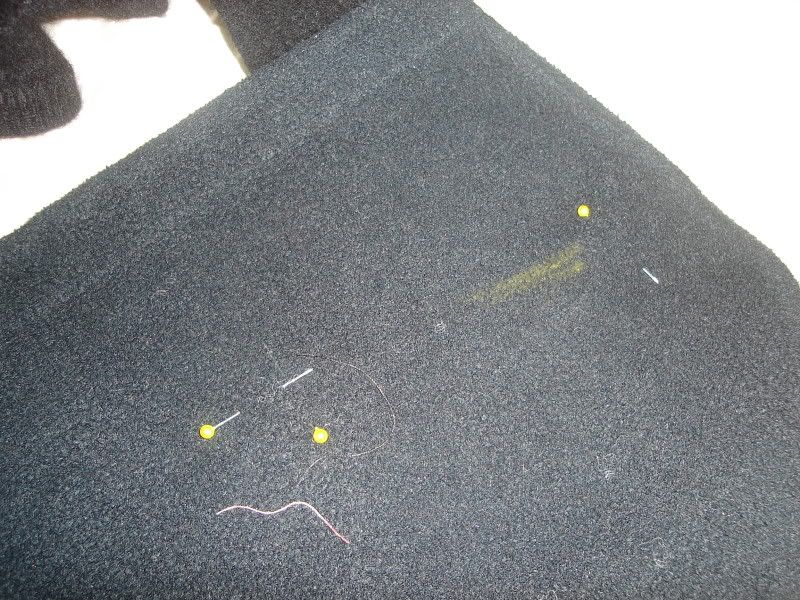
- Lay your felted vest on a flat surface and smooth it out. Lay out your ear/s on the vest, and with your tailor's chalk or crayon, start tracing around the ears. If you want to pin the ears down, that's cool too.
- Remove your paper/board templates, start pining both layers of the vest together, tracing the interior of the ear shapes.
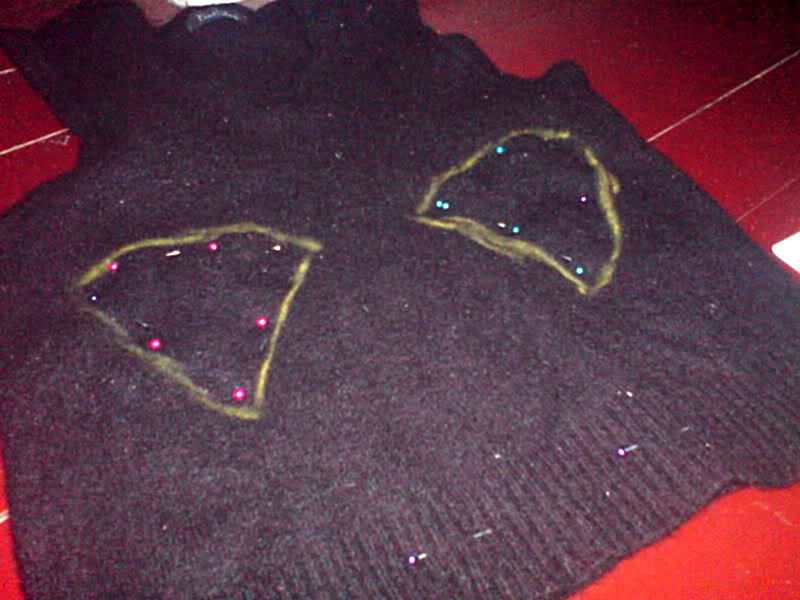
colored pins are pretty against all that black.
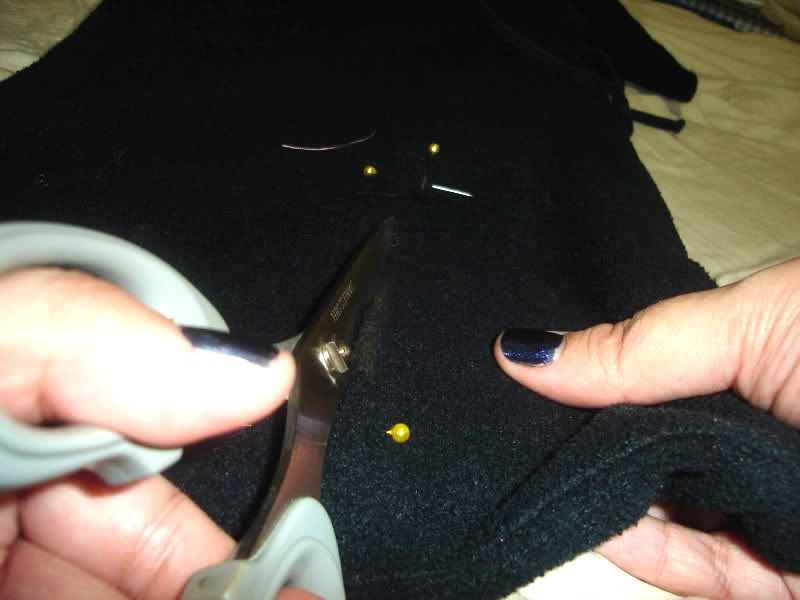
- Start cutting, following the shape of the ear, leaving at least a half inch away from the chalk line. This is very important.
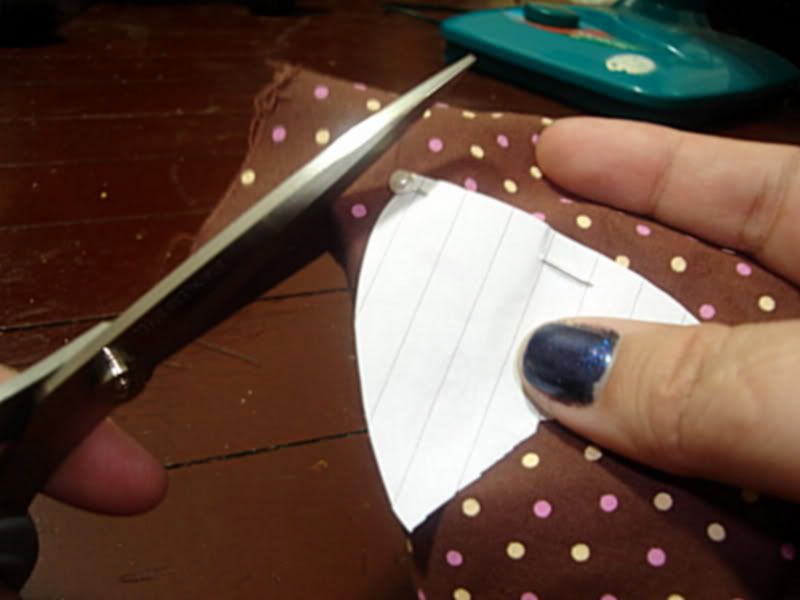
- Take your ear template, and start cutting out the inside of the ear.
- Take your colorful cloth scrap, and fold it neatly in half, printed/right side out. Pin the inner ear template onto it, and start cutting. You will now have two mirror images of the same scrap of cloth.
Great! Now you are now one-third closer to having kitteh ears on your hoodie!

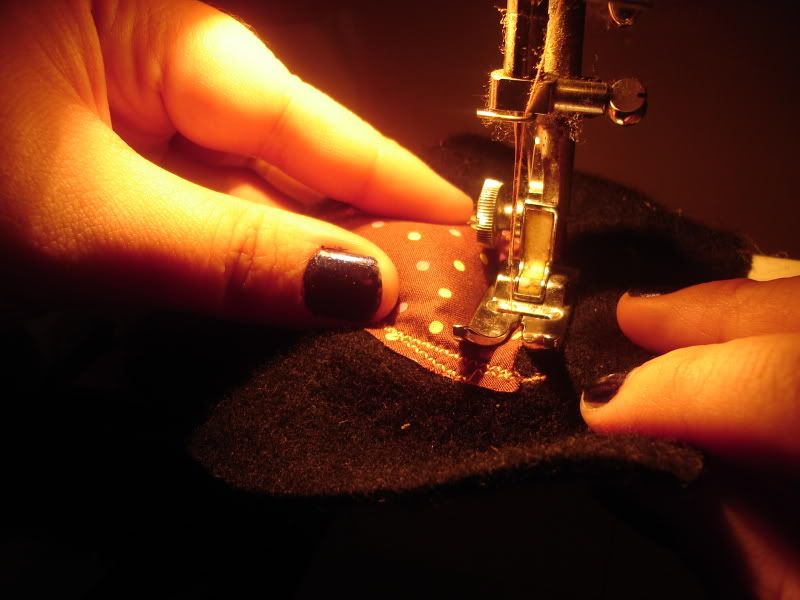
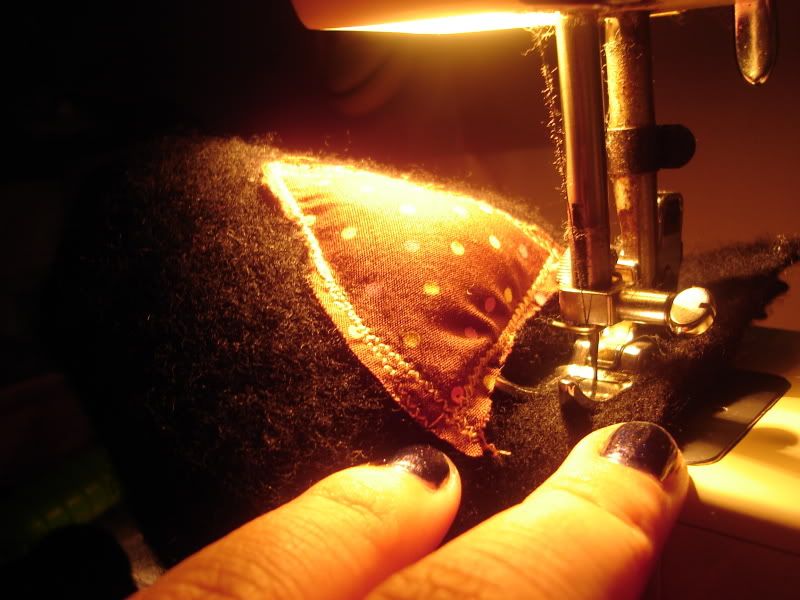
- Turn your sewing machine on, and set it to the zigzag stitch. I opted to set mine on a very small and short-stitched setting to keep the ends from fraying. Use thread that follows one color in your patch. Since my inner ear patches are brown with pink and yellow polka-dots, I went with pink.
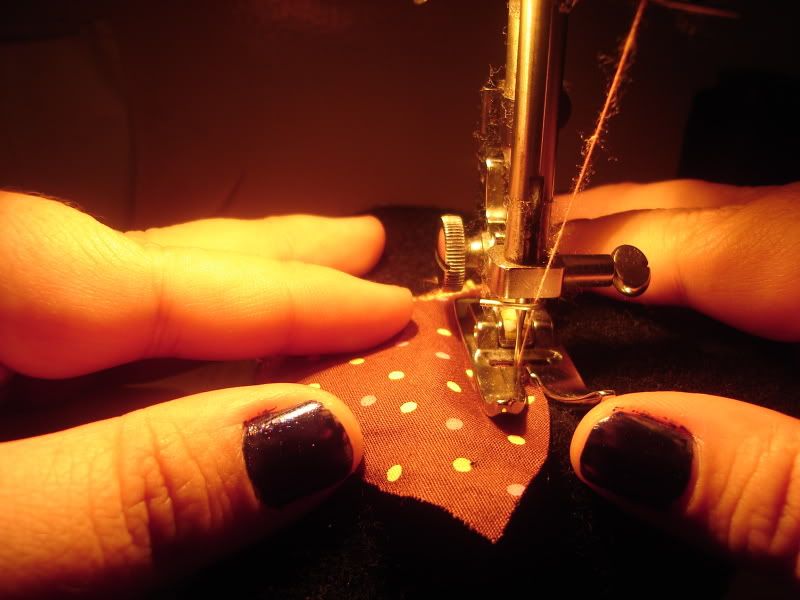
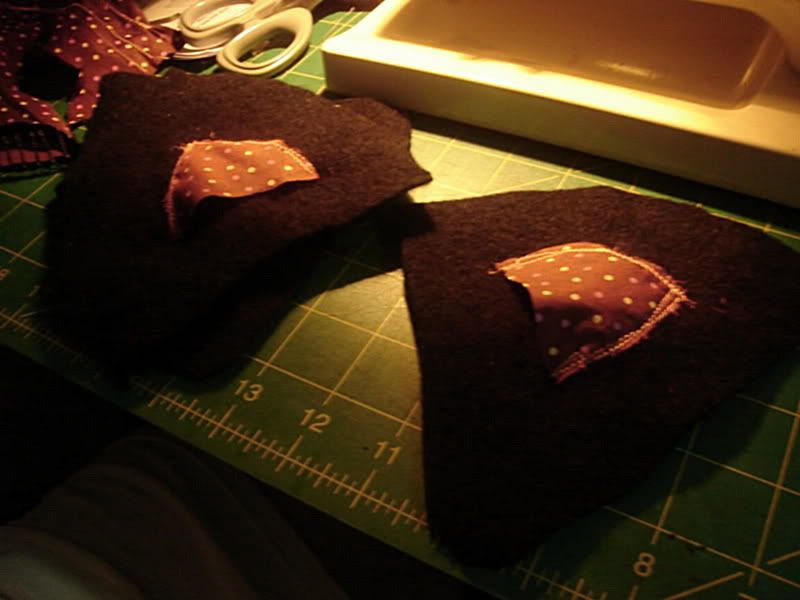
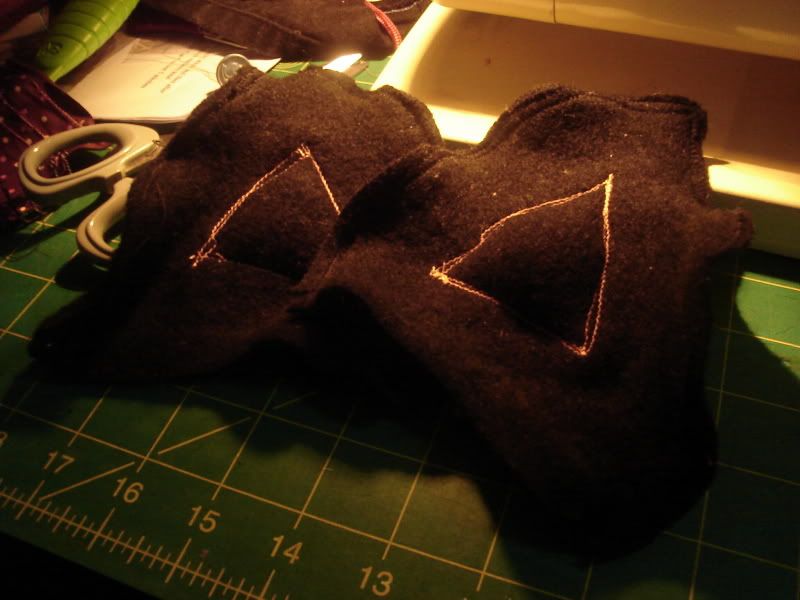
- Take the top ear piece of the left ear and its corresponding colorful inner-ear patch. Position the patch at the center of the ear. Stitch two sides of the inner ear to the black piece. I stitched each side thrice to ensure the edges won't fray. Leave the third side open, and ready for stuffing. Do the same for the right ear pieces.
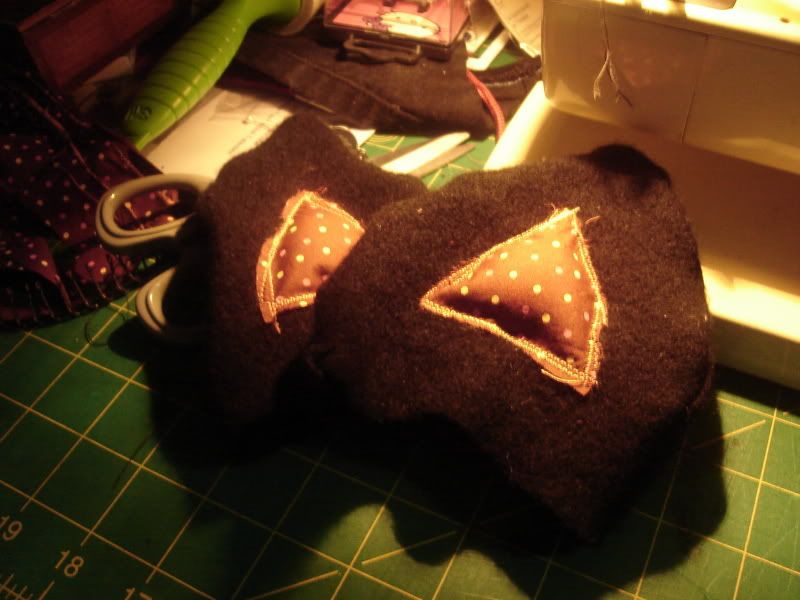
- Take some Polyfil, and stuff both inner ears.
- Sew both inner ear openings shut. Again, thrice's the charm for me.
- Take the bottom half of the left ear, and put the top piece and the bottom piece together, right (outside) sides inside.

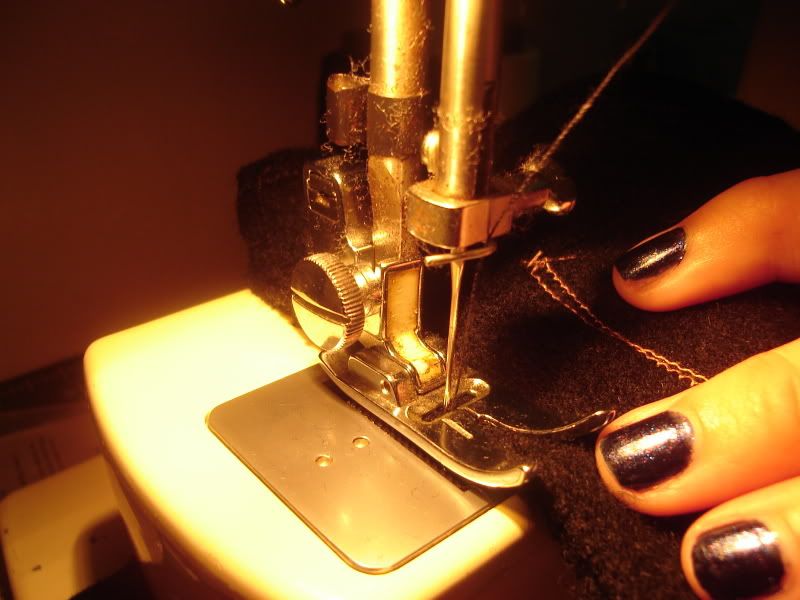
- Switch thread color from that of your inner-ear patch to that of your outer ear. In my case, I switched from pink to black. Remember your half-inch allowance? Here's where it comes in handy. Keeping your zigzag stitch, start sewing along the chalk marks, or one-half inch away from the edge. Only sew two sides shut, and leave the bottom side open. Because I wanted to make really, reaaaally sure, I stitched three times again. Nothing's up with the number three; I just really wanted to make sure. do the same to the right ear.
Did you know Nikolai Tesla was obsessed with the number three? Before he'd enter a building, he absolutely had to circle it three times, and he'd only stay in a hotel room if the number was divisible by three. Wow, talk about having OCD.
Back to the tutorial!
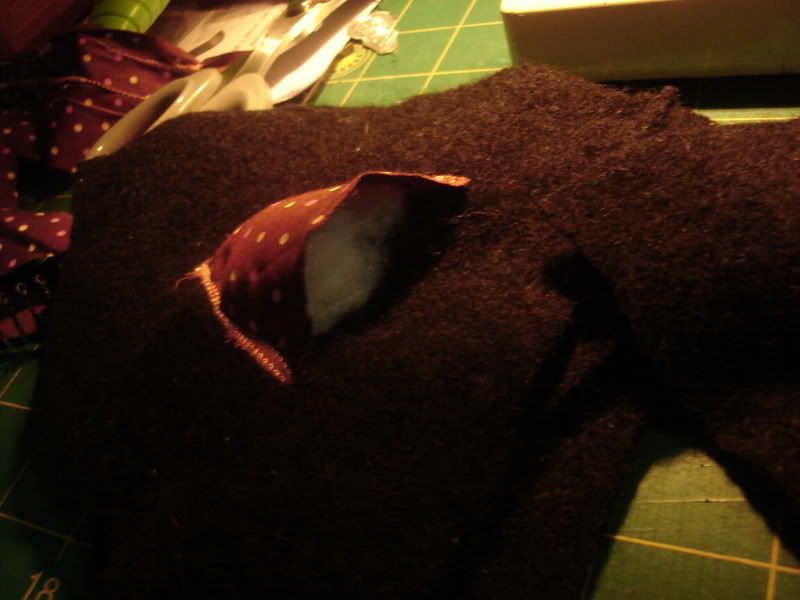
- At this point, you will have two rather wavy-looking inside-out ears. Turn them right side out, and try to straighten the edges as you see fit. If you have a tool to poke out your sharp edges into form, I would recommend using that, but don't poke too hard!
from this...
... to this.
- Take some more Polyfil and stuff the ears. get into those corners and edges, and make sure the filling's evenly distributed. When the ears are nice and fluffy and just the right size and mass you want. it's time to start stitching it shut.
- tuck the Polyfil further in to keep it from getting caught as you sew. Sew the ear shut. fluff it out, and get it back into shape.
You're now two-thirds done with the hoodie! H'rray, h'rray! 
Now you can go get a drink or a sandwich. And come back to finish the hoodie.
- Take the hoodie and lay it out flat on it's side on a flat surface. Make sure your hoodie is as flat on it's side, and that both sides are even.
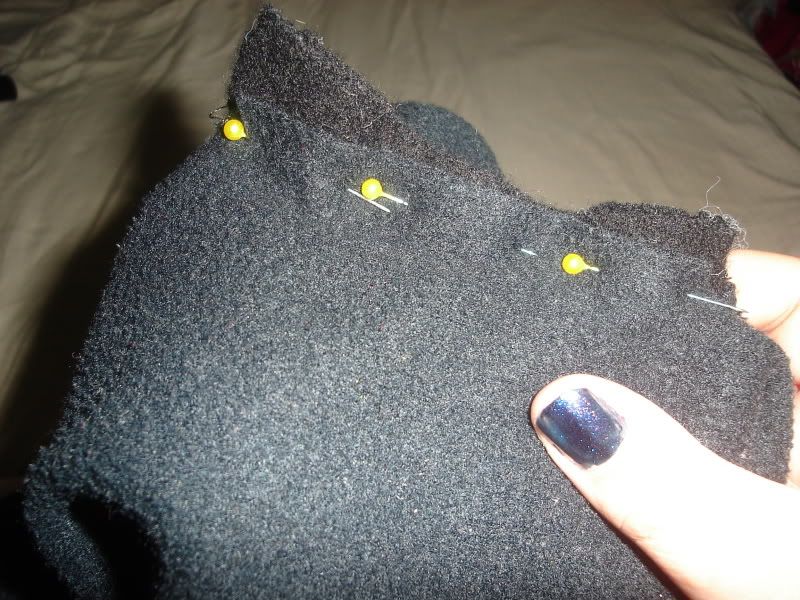
- Take one of your ears and lay it out where you want it positioned. take two pins, and pin horizontally at the ends, down the length of the base of the ear. Take another pin, and pin vertically to mark where the stitch line at the base is.
Take the ear away. The pins should now look like this:
- Take your sharp fabric scissors, and cut along the directions of the pins in an I-shaped manner, like so:

*Seeing little creatures optional*
snip, snip, snip.
- Make sure to cut through both sides of the hood.
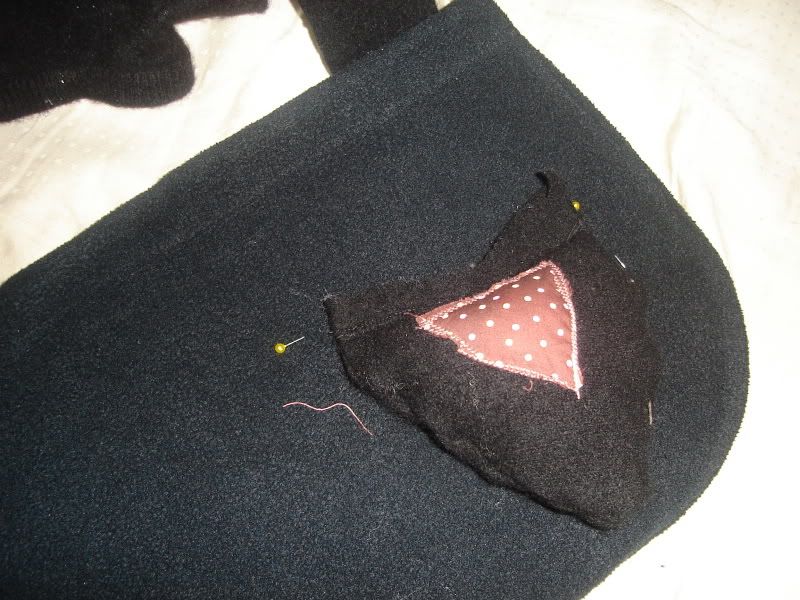
- Start working on one side, taking the designated ear for that side. If you're starting off on the left, take the left ear, and likewise, right ear for right side. Remember that half-inch flap I told you about? Insert that into the I-incision you just made, and sandwich that allowance between the two flaps, like so:

- Pin securely along the length. Repeat the last two steps for the other ear on the other side of the hood.
- Before you start sewing the ears in, wear the hoodie (or place it on a model head or your dress form's head) and check to see how it looks. Do you like how it flops forward, or would you rather they stand straight? Are they too high up, or too low? Are you happy with where they are? If the ears' base stitches are showing above the hoodie surface, I suggest unpinning, pulling the ear root further in, and repinning. The trick is to make it look like cat ears, after all.

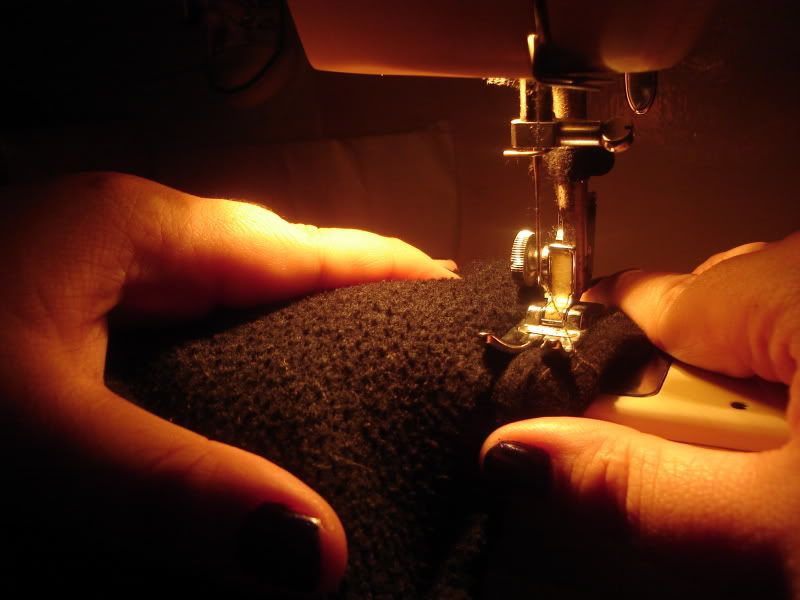
- When you're happy with the ear placement, start stitching and anchoring those babies in.
Et voila! You're done!
Here's the hoodie on headless Susan:
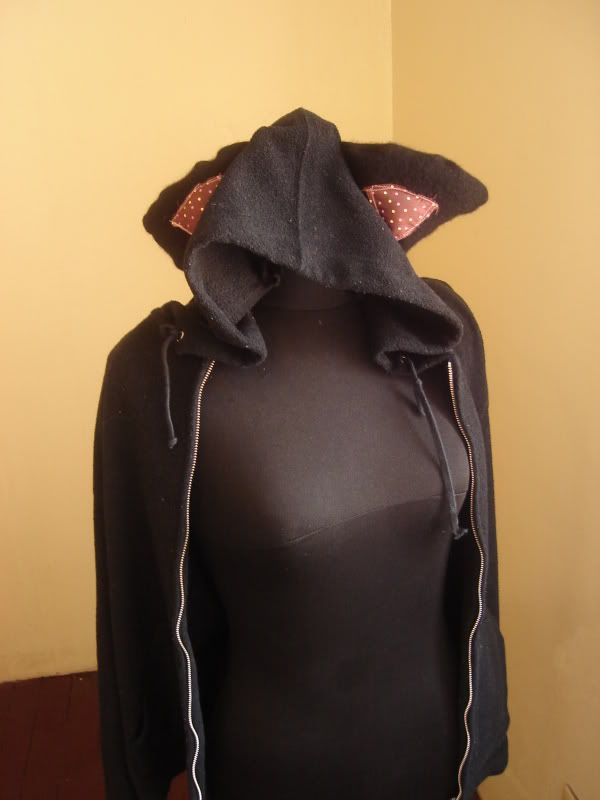
Not too flattering, is it?
Nothing quite beats a good, decent head, much more so if it's the head of the hoodie's new mommy:

Meet Ate Aimee, James' big sis. She loves anime, has an amazing collection of fantasy novels, and will seriously kick your butt in dash games like it's nobody's business. she owns a bokken (and knows how to use it). and has mad biochemical-engineering skillz. She's also one of the best gift-givers ever, and that dear friends, is what makes her awesome.

And thus ends my tutorial on how to recycle a few of your clothes into an cute cat-eared hoodie. If you've tried this tutorial out and made one of your own, I'd love to know! Tell and link in the comments below, and I'll be sure to check it out personally.
I leave you with a bit of inspiration. Have fun crafting, everyone!


So cute! Bagay nga kay Aimee!!!! <3
ReplyDeleteWaaaah cute!
ReplyDeleteYay! Thanks, guys! :D It was a surprisingly quick project to do.
ReplyDelete@Clair: Thanks! I'm really glad you say so! I was a bit worried that the ears might be too big, it they do look alright on her now, don't they? :)
@Meream: Thankies! Yes, one day, we will rule the world with Cute! :D
Ang kyut! I love this song!
ReplyDeleteThanks, Gene! Me too! the song and video never fail to lift my spirits. :)
ReplyDeleteI agree. It feels like he is living in his own world with the things he collected doing wonders around him and he just feels comfortable.
ReplyDeleteYeah! James went on to say that it would have been interesting too if we later found out he had a wind-up key behind his ear too. :D
ReplyDelete