Teh Bewbz, it is a lie! Part 2 (or another mini-tutorial of sorts on how to make and attach a gathered skirt to a bodice)

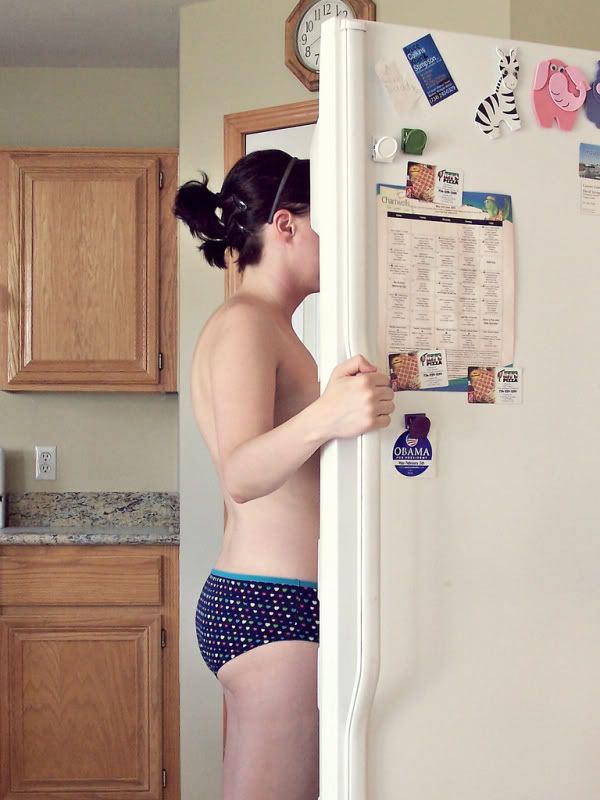
photograph courtesy of riot_jane
Hi, readers. If you just got here, I recommend first reading through the first entry in this series. Done? Good, glad you could join us.
Hello, everyone. I've taken quite a breather since the last post in this series, and I've been juggling work, puttering around with the household chores, teaching myself to slow down and kick back with James, and seeing to my overall health. As the Greeks used to say, everything in moderation -- even moderation itself!
It's 3:14am right now, and 29 degrees Centigrade in the city - feels like 34 degrees with the humidity. It's on summer ights like these that the heat goes to my head and I either a) decide it's all too much and get to bed early in obeisance to the gods of the water cooler and work schedule, or b) laugh in the face of insomnia and a potential migraine and go work on some sewing anyway.
Hey, there's always gotta be a first time, but it doesn't mean I'll be too hot to try it again anytime soon.
So then, the blue dress. Once I'd put together the front and back bodice, invisible zipper and all, I proceeded with attaching the skirt to the upper piece. after the hemming came the question: will it be pleats, or simple gathering?
Note: If you don't have a set idea of how you're going to pleat your skirt from the very start, go with gathering. It will save you a lot of grief and frustration in the long run.
After an hour of experimental pleating, awkward distancing and adjusting, adjusting over and over again, I resorted to gathering. I also considered it would be an interesting trick to learn, and what better time to learn it than now? My special thanks go out to JustTutes for easy-to-follow instructions with a first-time gatherer.
You Will Need:
1) a skirt -- in my case, this would be the 26-inch wide, two-yard long piece of blue cloth
2) Some elastic garters, 1/2-inch wide at most,
3) scissors,
4) pins,
and 5) your trusty sewing machine.
The Steps:
1) Take your garter and measure it out to be as long as your waistline, plus one inch for overlapping. Cut it with your scissors.
2) Taking your pins, divide the length of the garter into four equal parts, pining at the ends of each quarter as you go. Mind the overlap bit! You will need this. Set aside.
3) Take the skirt this time, and using your pins, divide the entire length into four and pin at each quarter's end, just like what you did previously with your garter. The pins on the skirt are to be matched up with the pins on the garter by the power of science! Elastic science!
4) Lining up the first pin on the garter and the first pin on the skirt, begin sewing. (Safety tip! Don't sew over your pins! They may end up breaking, jamming up your machine or hurting you in some unspeakable manner. Just be careful to remove them from your sewing machine needle's path before it comes down on them.) Sew a few stitches to secure or lock the garter in, then streeeeeeeeeetch the garter so that the next pin on it meets up with the its corresponding pin on the skirt.
5) Repeat for the remaining pins until the entire length of the garter's sewn onto the skirt's waistline. It's going to need some arm power and endurance, but keep your stitches straight! Consider it good exercise too. :)
After the skirt's garter treatment, I next sewed the bodice piece to the skirt's waistline. It helps to pin the bodice first to the waistline to stabilize it and prevent slip-ups.
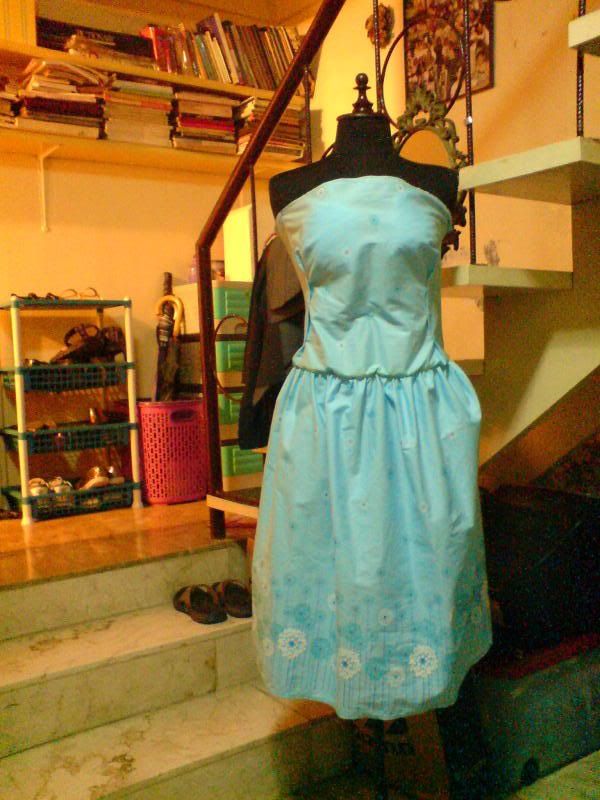
ah yes... remember that extra bit of width I added to the bodice by not laying the paper pattern's edge flush against the fold before cutting? Well, that turned out to be something of a mixed blessing. I tried the dress on, and was appalled to find out the horizontal side bust darts did not help any, and that the bodice was shapeless from the chest down. I was so tempted to give up when I thought: "Ah, is that so? Vertical darts, then. Let's see how you like it."
After a few minutes of pinching, careful pining (I was still inside the dress after all, you know!), and fitting, she finally came out, all grown up with her curves.
Hah! There she is! She never thought I'd be able to make her out, but there she is! What a proud little thing!
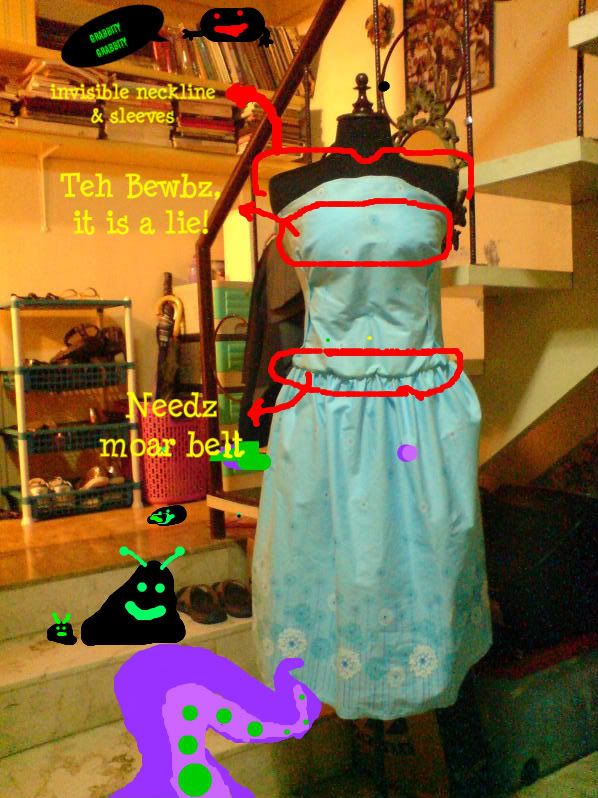
and since I finished by 4:30 was sorely tired, I decided to have a little bit of fun with her.


E-hem. Stress-relief courtesy of Paint. So there.
I still need to press and sew up the vertical darts. I do plan to give her sleeves, perhaps nice three-fourth length ones in creamy muslin with tiny pearl buttons on the arm ends. I was also hoping to give her either a missionary collar or a grandad collar, to be attached by back panels... but maybe it's too much?
Well, darts and sleeves first.
Which means the third and final installment to this series! Stay tuned!


0 Comments:
Care to leave a comment? I'd love to hear what's on your mind. :)