
A Mask for Barney
Every year, officemate and good friend Barney always aims to impress. No, not impress -- astound. He makes it a point to set up quite a spectacle at his workstation when the mood strikes him -- much more so during Halloween and Christmas. This Halloween, he bought papier-mache masks and gave each of his dear friends one to decorate. "Let it be something to represent you", he said. Since I know Barney to have a love for the beautiful and the fabulous, I decided to give it a go and see what would come of it.
I had a plan of sorts gelling in my mind of what it would look like, the materials, the texture, and so on. One half would be covered in black glitter, the other in decoupaged music. After I'd rounded up everything I needed, I was pretty much ready to go.
My materials:
- The papier-mache mask
- a plump packet of black glitter
- a roll of string mini faux pearls
- three pages of sheet piano music (I chose My Funny Valentine because I liked the song.)
- a hot glue gun
- a bottle of white glue
- a pencil
- a pair of scissors
- a sponge brush, or a sponge-on-stick-shaped like a wedge.
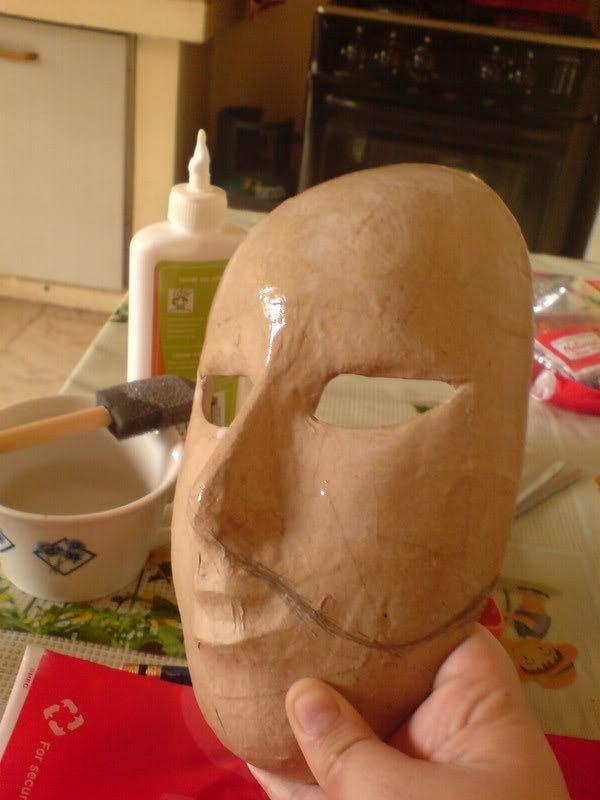
I drew a line right where I wanted the division, and began prepping the glitter side. I diluted a generous amount of glue with a bit of water, and started brushing over the desired side evenly. I had to make sure I covered every patch of the mask half to ensure the glitter falls there and stays there.
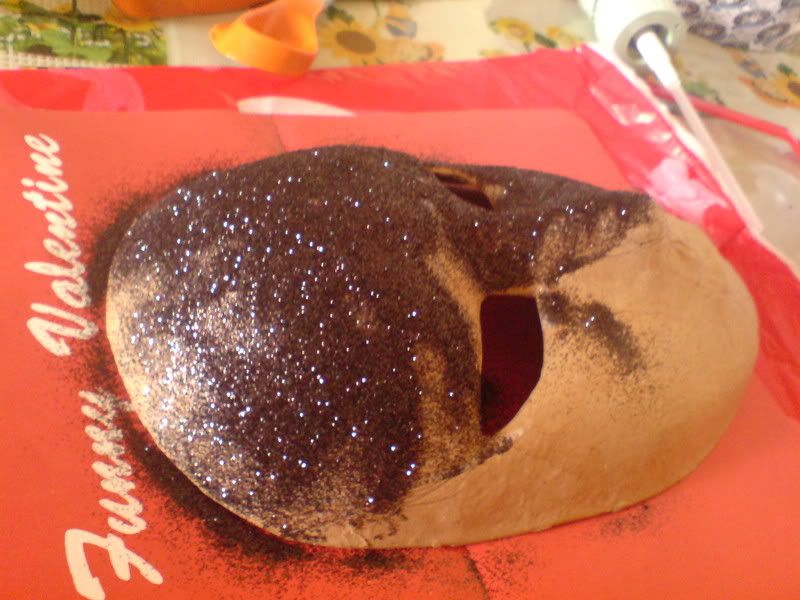
I next laid the mask on a wide sheet of paper (here, the sheet music serves a double purpose) and began sprinkling the glitter over the treated half, making sure to cover all glue-y areas. I took the mask and tapped it on the back, making sure the other loose glitter fell onto the paper for easy collection and reuse. I let it dry for a minute or two. Sure, this gave the mask a layer of glitter, but I decided it would do well with a second layer. I I repeated the process, brushing glue evenly on the first layer, and pouring on more glitter to make it professional-looking.
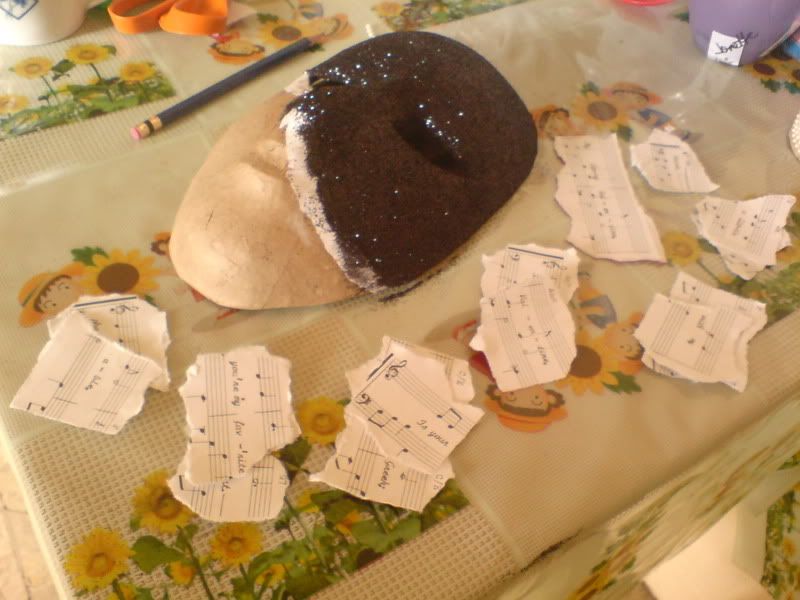
While waiting for the second layer to dry, I started working on the sheet music. I choose certain lyrics from the song, determining whether they would look best as a whole or whether a single word would look great apart from the phrase. At this point, I was going with "what felt good" more than "what made sense".
I first tore the desired phrases carefully to separate them from the whole of the song. When the bits and pieces were finalized, I tore them even further to give them jaggedy, rough edges. It would make it look haphazard, and the uneven edges would help the pieces cling better to the glue.
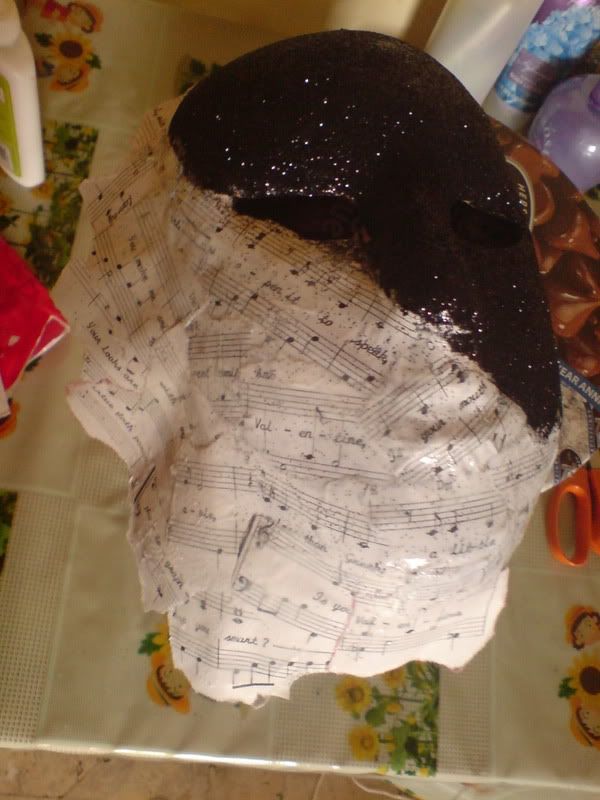
The decoupage half of the mask was given another glue treatment, and the pieces arranged and glued on. I decided to extend the glued pieces a bit beyond the boundary of the mask for effect. It felt good. :) The mask was then laid on a makeshift stand (in this case, a cylinder box of a fondue set my mother sent home), and left to dry.

By the time the glue had dried, the decoupaged half no longer felt cool to the touch. This time, I gave the piano piece a generous spread of pure glue, and brushed it evenly to cover all paper surfaces. I placed it back on the stand, and left it to dry overnight. Doing this gave it a nice, sheer matte finish, and will preserve and stiffen the paper side.
I next took some mini faux pearl string, and secured the string at critical points with my hot glue gun. I learned that when working with the style, freeform isn't eactly free. Much like in this case, you have to determine what looks good, how this line will swoop or that line will curve, if you want curlicues or garlands or scribbles and so on.
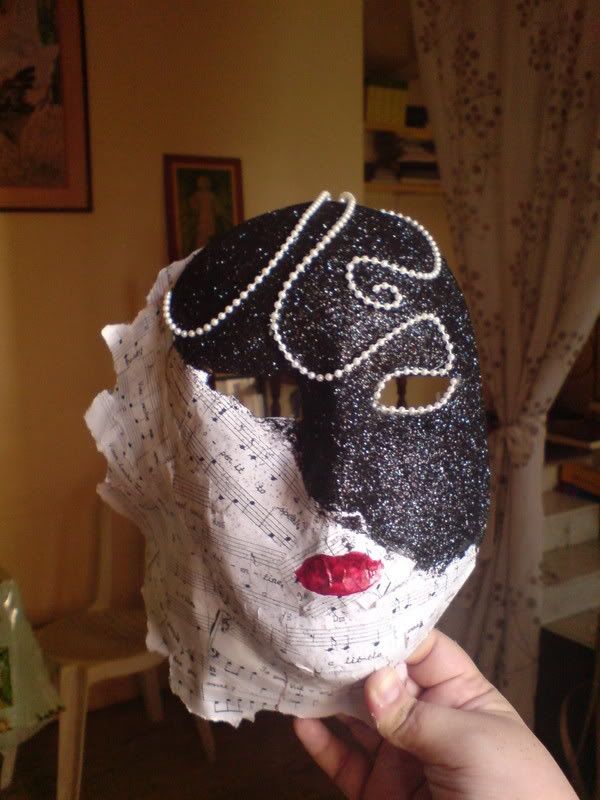
I painted the lips on with frosted devil-red nail polish for impromptu sexiness.
The finished mask. A closer view of the song.
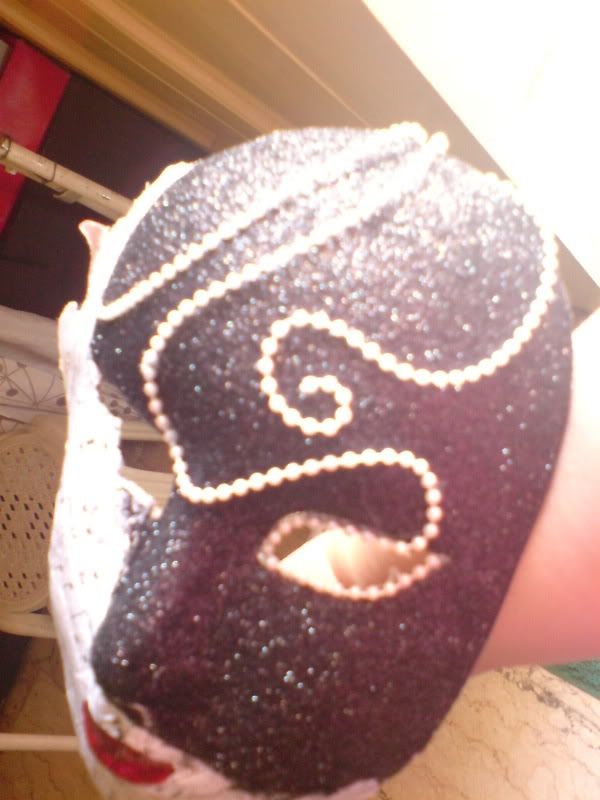 The mask catching sunlight.
Whatdo you think? What kind of mask appeals to you?


0 Comments:
Care to leave a comment? I'd love to hear what's on your mind. :)