
The Pirate/Admiral costume: The Shirt.
Halloween May have come and gone, but the documentation remains. Forward ho!
In preparation for Ang Bandang Shirley's Scary Debut Album Launch, I wanted to show up dressed for the occasion, be counted, and have the time of my life. I owed my cousin Selena big time, and thought this was one of the best ways I could show support.
I decided on something a little bit steampunk, a little bit pirate, a little bit lolita, a little bit reenactor. In the end, I think with all these elements mixed together, I ended up with your regular costume. Ah, well.
The list!
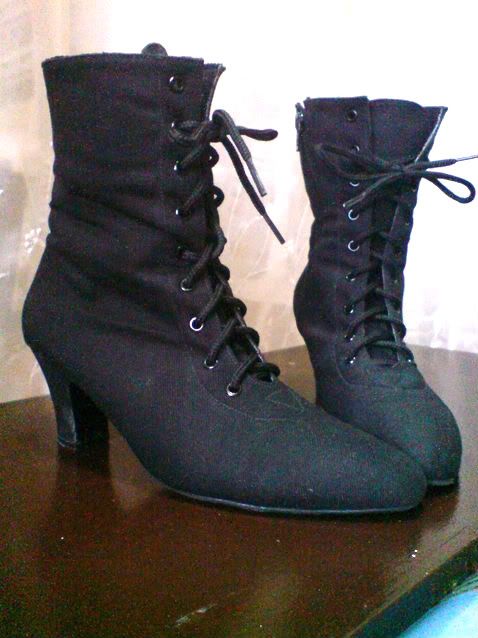
Shoes? Check.Stockings? Check.
Gray Skirt? Check.
Top? Uhh...
Hat? er...
accents? Um...
So now, we set to work.
Threadbanger's third Steampunk episode gave me an idea for my top. I had bought a second hand, medium-sized, short-sleeved, men's polo from a thrift store just for the job. It was made of good, sturdy cotton twill, and I was pretty excited with the find.
I followed the instructions for the ladies' blouse -- marking, cutting, ruching, saving the collar. I further noticed that: One, the shirt was too long and too tight 'round my ample hips, and Two, the sleeves were too snug to wear comfortably through the night if I was to be waving my arms in the air and doing other crazy things you usually do in a concert. So what did I do? I cut off the excess length at the bottom and used some of the extra cloth to add space to the underside of the sleeves. With the now-spare cloth at hand, I cut out generous triangular shapes from it. I next opened up the seam underneath the sleeves, the one that runs up into the armpits of the shirt. with that, I pinned a triangle to each side of the opening, sewed it in, and repeated the same process for the other sleeve. (remember folks, it's easier to do this if you turn the shirt right side in, pin accordingly, and sew.) I next hemmed the triangles by following the original hem of the sleeve. Voila! Bigger sleeves!
I wanted to try a shirring technique I read on Kuky Ideas to secure the neckline. It was fun experimenting how tight the shirring would become with different stitch lengths.
 The semi-finished top.
I was glad to see my top in its final form, but thought that it lacked a certain something. It looked too ... High School? Tame? then I realized... Buttons.
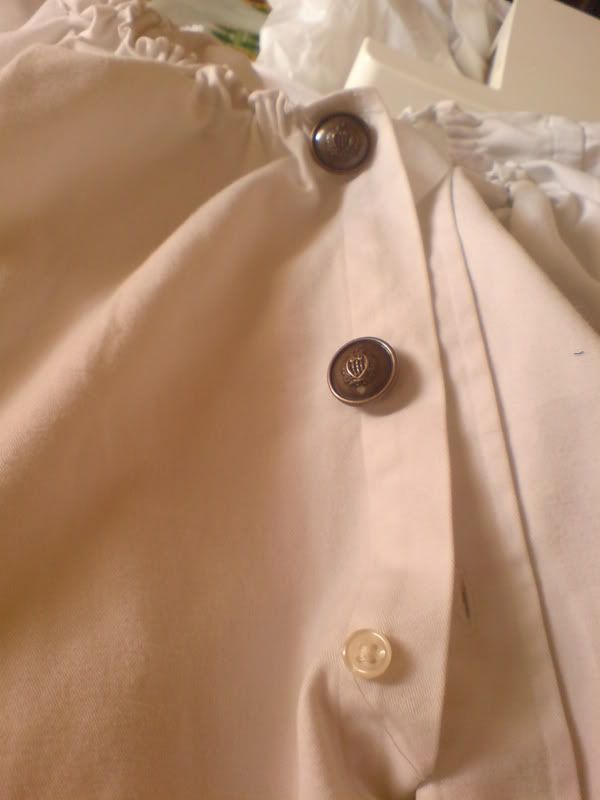 sewing the brass-ish buttons on.
 a detail of the shirt buttons.
and Voila.
 detail of the collar button. I love this baby.
So there. Two more items checked off the list (top and accent), one last but not least one to go: the hat.
So tell me, readers: every tried recycling or revamping a thrift store item into something smashing? Do share what you got in the comments. ;)


0 Comments:
Care to leave a comment? I'd love to hear what's on your mind. :)